
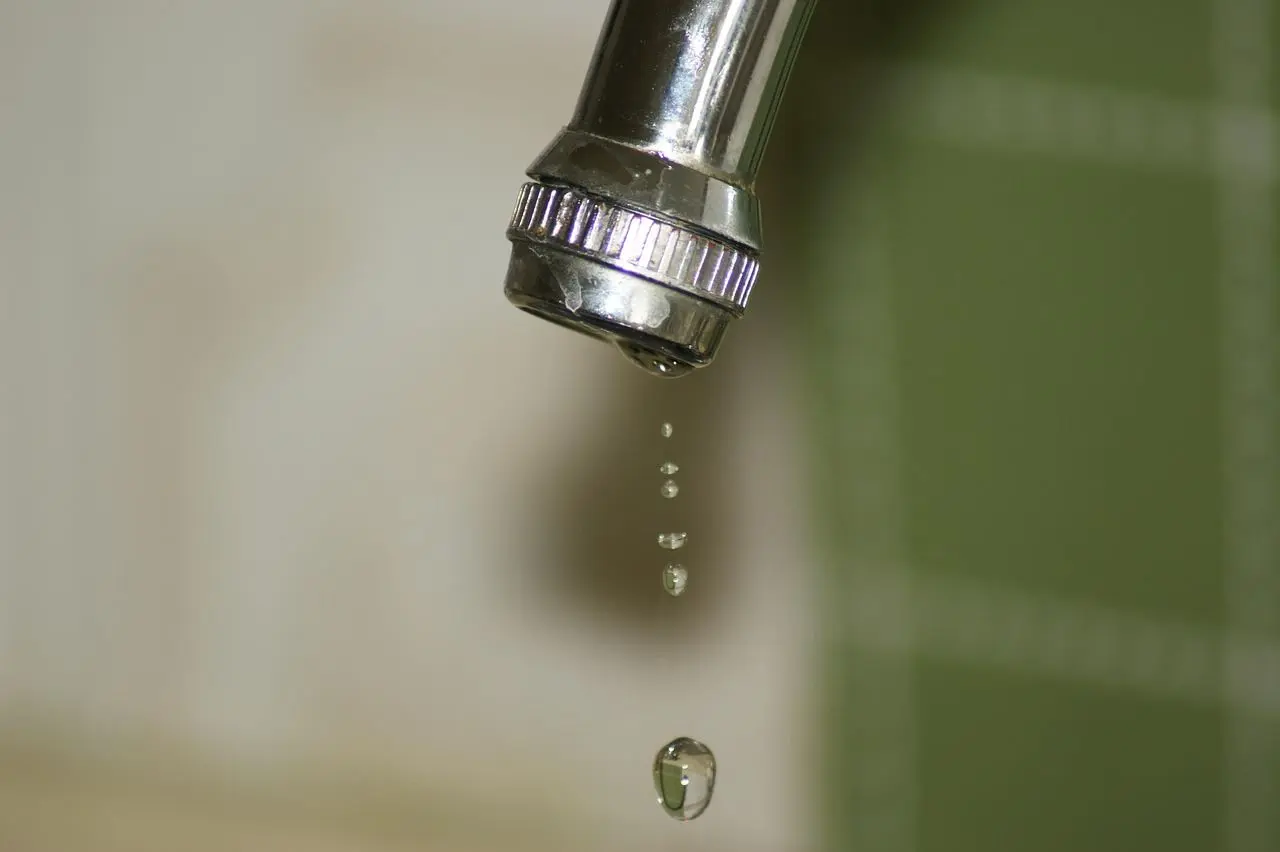
That drip keeping you awake is usually a worn part, not a plumbing disaster. Here is how to fix a leaky faucet: shut off the water, take the faucet apart, and replace the worn washer, O-ring or cartridge.
This guide sits in our diy home repairs collection, alongside other small jobs that need only basic tools.
| Item | Value |
|---|---|
| Typical faucet lifespan | About 15 years |
| Water wasted by one drip every minute | 34 gallons per year |
| Basic faucet categories | Two: with washers and without |
| Shut-off valves under a typical sink | Two: one hot, one cold |
| Time to repair a leaky cartridge faucet | About an hour |
These figures come from Bob Vila’s repair guide and a Dummies cartridge-faucet walkthrough. They can change, so check the sources before you rely on them.
Why fix a dripping faucet sooner rather than later?
Even a slow drip adds up. The U.S. Geological Survey’s leaky faucet calculator, as cited by Bob Vila, says one drip every minute wastes 34 gallons per year.
Age plays a part too. The National Association of Home Builders says the average faucet lasts about 15 years, so a drip from an older fixture is common and often points to worn internal parts.
Before you start: shut off the water and identify your faucet
Preparation takes a few minutes and prevents most of the mess. Work through these steps first:
- Find the valves below the sink basin, close to the wall. There should be one for hot and one for cold, and you close both.
- Open the faucet to let the water left in the line run out.
- Close the drain. If you have no good drain cover, a towel over the opening keeps small parts from falling in.
- Lay each part out in the order you remove it so reassembly is easy.
No valve under the sink? Popular Science notes you can use a shut-off valve for the house as a whole instead.
Next, work out which type you have. There are two basic categories of faucets: those with washers, called compression faucets, and washerless designs. Washerless faucets include cartridge, ceramic-disk and ball-type models, as Bob Vila explains.
A basic tool kit covers most jobs:
- A screwdriver and a hex wrench or hex screwdriver
- A wrench, ideally toothless or wrapped in protective tape
- Groove-joint pliers and, for some models, needle-nose pliers
- Silicone grease and an old toothbrush
- Replacement parts for your particular type of faucet
The tape tip comes from Popular Science. Bob Vila adds that a toothless wrench avoids damaging plumbing parts with overly aggressive teeth.
How to fix a leaky compression faucet
A compression faucet holds back water with a small rubber washer that tightens into the valve seat, much like a bottle cap on a soda bottle, according to Bob Vila. The seat washer is typically the part responsible for the leak.
- Pry off the decorative cap on top of each handle with a flathead screwdriver to expose the screw.
- Remove the screw and lift off the handle. If it is seized, penetrating oil can help.
- Loosen and remove the stem nut with a wrench.
- Pull out the stem and check the O-ring, which stops leaks from the handle itself.
- Remove the seat washer at the bottom of the stem, taking out its screw first if it has one, and fit a new one.
- Reassemble in this order: seat washer, O-ring, stem, stem nut, handle, handle screw and decorative cap.
- Turn the water back on gently and check that the flow starts and stops correctly.
Parts that do not match exactly can make the problem worse. Take the worn washer and O-ring to a local hardware store so you can compare them against replacements.
Fixing cartridge and ceramic-disk faucets
Cartridge faucets are the easiest kind to repair, and Dummies says a leaky one takes about an hour. The aim is to swap the cartridge or its O-ring rather than a washer.
- Remove the retaining screw and handle, then the retaining nut, clip, plastic caps and spout housing ring.
- Lift off the spout, clean the faucet body, and take out the clip on top of the cartridge.
- Slip the old O-ring out with a screwdriver tip, keeping it intact so you can match it at the store.
- Grip the cartridge with groove-joint pliers and pull it straight up. If that fails, use a stem puller made for your brand.
- Grease the new O-ring lightly, fit the new cartridge and reassemble, hand-tightening the plastic nut so it does not strip.
Test the temperature when the water is back on. The same guide warns it is surprisingly easy to reverse hot and cold.
Ceramic-disk faucets are durable but can still leak. Dummies describes loosening the setscrew with a hex wrench, lifting off the handle and decorative cap, and unscrewing the cartridge with pliers. Pry out the seals, scrub the seal seat with a toothbrush, and replace any seals or cartridge that stay gritty.
What if the faucet still drips?
If the washer and O-ring look fine, or replacing them did not help, the next suspect is the valve seat, according to Popular Science. It sits in the faucet body below the stem. You can replace it or smooth it with an inexpensive seat-dressing tool, as Popular Science describes.
Other designs follow the same logic. Diaphragm faucets use a rubber seal and a swiveling disc instead of a washer, yet the same steps broadly apply. Newer hardware is often built with repairability in mind, so the instructions that came with your faucet are worth checking.
Know when to stop. Extensive corrosion or a more serious fault may mean calling a licensed plumber, and that is no failure.
Once the drip is gone, you may spot other small jobs. Our guide on how to patch a hole in drywall covers one of them, and if the sink also empties slowly, read how to unclog a drain before you reach for a wrench again.
Frequently asked questions
Do I have to turn off the water before I start?
Show answer
Yes. Skipping it risks a geyser rather than a drip. Close the fixture’s own valves, or the house supply if none exist, as Popular Science advises.
Which part causes most drips in a washer-type faucet?
Show answer
Usually the rubber seat washer at the base of the stem. The O-ring is the next thing to inspect, since it handles leaks around the handle, per Bob Vila.
Why does the water temperature feel wrong after a cartridge repair?
Show answer
The cartridge may have gone in rotated the wrong way. Dummies calls this an easy mistake, so remove the handle and refit the cartridge the other way round.
Should I grease the new parts?
Show answer
A light fingertip coating of silicone grease on a new O-ring is the method Dummies describes before seating it in its groove.