
You found a hole in your wall and want it gone before the weekend. Here is how to patch a hole in drywall: match the repair to the hole’s size, from spackle for nail holes to a bridged patch for doorknob dents.
This guide is part of our collection of diy home repairs, so you can browse related fixes when you finish.
| Item | Value |
|---|---|
| Nail and screw holes | Fill with spackling or wall joint compound |
| Holes between 1/2 and 1 1/2 inches in diameter | Adhesive-backed fiberglass mesh |
| Holes 1 1/2 to 6 inches in diameter | A stronger, more rigid bridging material |
| Mesh patch overlap | At least 1 inch on all sides |
| Final coat on a medium patch | At least 12 inches square |
| Joint compound drying time | About 8 hours |
These figures come from This Old House’s guide to fixing a hole in the wall and Bob Vila’s drywall patching guide. Guidance and product directions can change, so check the sources and your product label before you rely on them.
Match the repair to the size of the hole
Before you buy anything, measure the hole’s diameter at its widest point. This Old House advises looking at the hole or crack size and the condition of the surrounding drywall before you pick a method.
Here is how the repair methods break down by size:
- Nail and screw holes: a putty knife and spackling or joint compound are enough, per This Old House.
- Between 1/2 and 1 1/2 inches in diameter: bridge the gap with adhesive-backed fiberglass mesh, according to the same guide.
- From 1 1/2 to 6 inches in diameter: use an even stronger, more rigid patch, such as a metal one, as This Old House describes.
- Anything wider: that calls for a new piece of drywall, which goes beyond a small-to-medium repair.
The reason for stepping up the materials is strength. This Old House says that anything larger than a tiny hole must be covered with a bridging material before you apply patching compound.
Gather your tools and materials
Most of what you need is cheap and easy to find, and repair kits can save a trip. This Old House notes that wall-repair kits are sold at home centers and hardware stores, and that they typically include spackle, wall patches, a putty knife, and sandpaper.
If you assemble your own kit, you will want:
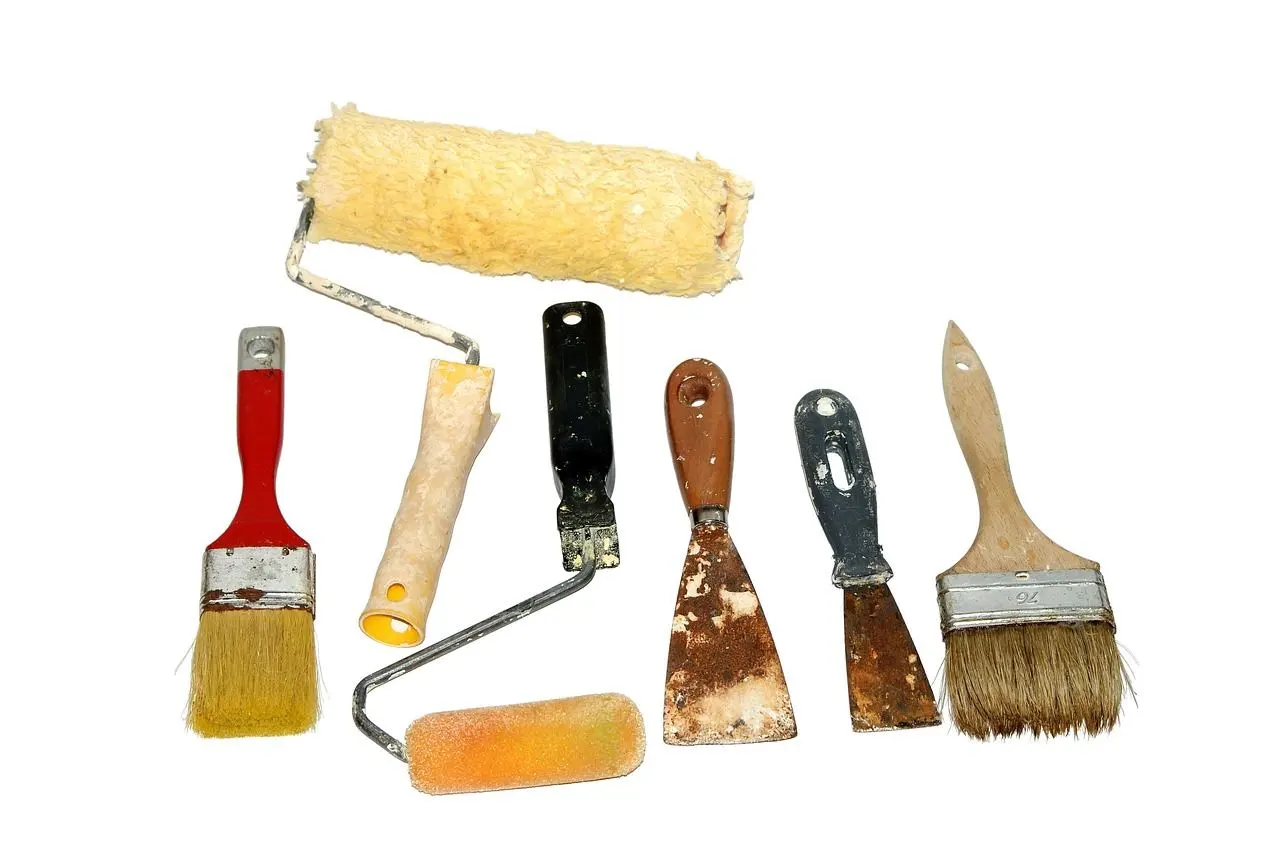
- A putty knife and a wider drywall knife
- Spackling and joint compound
- Adhesive-backed fiberglass mesh or a metal patch
- Fine sandpaper and a damp cloth
- Primer and touch-up paint
Check which wall you have before you start. This Old House explains that drywall is made of gypsum panels fastened directly to wall studs, and that it is easier to repair than older plaster and lath.
How do you fill nail holes and small dents?
Use spackle for the tiniest holes. This Old House’s contractor recommends spackling compound over joint compound for these jobs because it does not shrink quite as much.
- Load a small amount of spackle on a putty knife and press it firmly into the hole until it is completely filled.
- Smooth the surface with the edge of the knife.
- Let the spackle dry completely, then sand lightly if needed.
- Prime and paint to match the surrounding wall.
Fill a little proud of the surface. This Old House contractor Clark advises overfilling rather than trying to get flush on the first pass, because spackle shrinks as it dries.
A nail pop needs more than a dab of filler. This Old House Magazine’s advice is to push the drywall against the stud, drive a drywall screw 1½ inches above and below the popped nail, and only then fill the depressions with joint compound.
Patching medium holes, up to the size of a fist
For holes about the size of a doorknob dent, a mesh or metal bridge patch keeps the compound from sagging or cracking. Work through these steps for a hole of 1/2 to 1 1/2 inches, as laid out by This Old House:
- Hand-sand around the edges of the hole, then wipe off the dust with a damp cloth.
- Cut a piece of fiberglass mesh so it overlaps the hole by at least 1 inch on all sides.
- Peel off the paper backing and press the mesh to the wall.
- Use a 6-inch drywall knife to smear spackling compound through the mesh and over the hole.
- Let it dry overnight, sand lightly, then apply a second thin layer, and a third skim coat if needed.
Bigger holes follow the same logic with a stiffer patch. For holes from 1 1/2 to 6 inches, the same guide has you press on a self-adhesive metal patch and spread three coats of compound, with the final coat at least 12 inches square so the edges feather into the wall.
Gaps near the fist-size end can use a backing. This Old House recommends stuffing wads of newspaper into the hole before packing in joint compound, which gives the compound something to grip.
Patience matters more than skill here. Joint compound needs about 8 hours to dry in Bob Vila’s walkthrough, though the manufacturer’s directions for your product take priority.
Finish by sanding the dry patch smooth, then prime and paint. Thin layers beat one thick one, since This Old House warns that a thick layer can crack and make the repair more noticeable.
When a patch is not enough
A patch hides damage but does not cure its cause. This Old House lists moisture damage and structural problems as underlying issues to rule out, and notes that nail pops can hint at slight settling.
If a drip is behind the stain, read our guide on how to fix a leaky faucet before you patch. Cracks that keep returning or keep widening point to something structural, so bring in a licensed professional rather than filling them again.
Exposed wiring is a hard stop. Bob Vila’s guide mentions holes that leave wiring exposed, and electrical work is beyond a simple homeowner task, so call a licensed electrician before you cover anything.
For a hole too wide for a patch, the same guide suggests making the opening big enough to expose a wall stud so the new drywall has something to attach to. Adding a quick wall check to your home maintenance checklist helps you catch pops and cracks while they are still small.
Frequently asked questions
Should I use spackle or joint compound?
Show answer
Pick spackle for nail-sized dings and shallow dents, because This Old House describes it as more elastic. Joint compound suits wider patches and seams since it feathers and sands more easily.
Why does my patch crack or look raised?
Show answer
The usual culprits are a single thick layer or skipped drying time. Build up thin coats, let each one dry, and feather the edges outward, as This Old House suggests.
Can I use the same method on a hole bigger than a fist?
Show answer
Not safely. Those holes need a cut-out opening, a fresh piece of drywall and a stud or wooden backing, a job Bob Vila’s guide treats as a larger project.
Do I need to fix the cause before I patch?
Show answer
Yes, if there is one. Look for leaks, moisture or movement first, because This Old House says addressing the root cause helps repairs last longer.
How long should I wait before sanding?
Show answer
Follow the label on your product, since Bob Vila’s guide says dry times vary. When in doubt, let a mesh patch sit overnight, as This Old House describes.