- Home
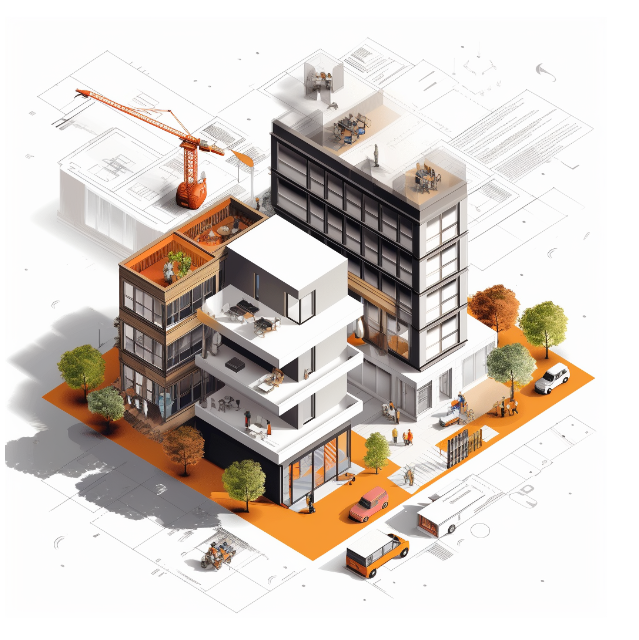
- The Building Design Process Explained Step-by-Step
The Building Design Process Explained Step-by-Step
Constructing a new building is an incredibly complex feat requiring tons of time, money and collaboration between architects, engineers, contractors and clients. On average, most commercial buildings take 5-7 years to go from concept to completion!
As someone interested in architecture and construction, I wanted to walk through the major phases and steps involved in designing and building a new structure from the ground up. This info is useful for anyone looking to understand how the experts work together to create the buildings we live and work in everyday. While each project is unique, they all follow a similar workflow.
Let’s start from the beginning!
Pre-Design Phase – Laying the Groundwork
Before drawing even one sketch, there’s a lot of upfront planning and analysis required to set the stage. The pre-design phase is all about framing the project and making sure it’s viable.
Define the Project Goals
First, the client and design team need to get on the same page about what the purpose and vision is for the new building. This means asking questions like:
– What will the building be used for – offices, apartments, retail stores?
– How big should it be in square footage?
– How tall – number of stories?
– Where should it be located on the site?
– What’s the budget?
– Any must-have features or design needs? Green building goals?
– What architectural style does the client prefer? Modern or traditional?
– When does the client hope to finish construction?
Having a clear set of objectives in writing helps guide the design process and ensure the building matches the client’s needs and expectations.
Research the Site Conditions
Before designing anything, the team does an in-depth analysis of the site where the building will be constructed. This involves things like:
– Surveying the site size, shape, topography.
– Studying the soil and geotechnical conditions.
– Looking at access points and traffic patterns nearby.
– Checking availability and locations of public utilities.
– Investigating any environmental factors or hazards.
– Researching zoning laws and building codes for the area.
Site visits and lots of photographs are helpful! All this data will inform cost estimates and design decisions down the road.
Conduct Feasibility Studies
To make sure the project is financially viable, the team does market and cost studies:
– Market study: Validates demand for that type of building in the local area based on demographics, economic factors, competition, etc.
– Cost studies: Confirms the budget accurately covers projected expenses like land, construction, fees, contingencies, etc.
If any major red flags come up, the concept may need to be reworked or even scrapped!
Create a Detailed Budget
Speaking of cost – a detailed project budget must be developed covering all anticipated hard and soft costs including:
– Purchase of the land
– Design fees
– Construction costs
– Equipment and furnishings
– Permits, surveys and inspections
– Financing costs
– Professional services
– Contingency reserve or cost overruns
Having an accurate budget baseline is crucial before moving forward. Value engineering happens later if needed to reduce expenses.
Assemble the Design Team
Finally, the client hires the architects, engineers, consultants and other pros who will help design the building. This usually includes:
– Architect – Lead designer in charge of overall building concept.
– Structural engineer – Designs the building foundations and structural framing.
– MEP engineer – Handles mechanical, electrical and plumbing systems design.
– Civil engineer – Designs the site layout, grading and drainage.
– Construction manager – Advises on budgets, feasibility and ease of construction.
The client approves design decisions and collaborates with this rockstar cross-functional team. Onto conceptual design!
Schematic Design Phase – Conceptual Framework
With site analysis and project initiation done, schematic design is when the building layout and form starts taking shape at a conceptual level.
Develop the Initial Design
The architect creates preliminary sketches exploring different options for the building’s scale, massing, and configuration on the site. This is based on input from the client and site data. The goal is to draft designs that capture the right feel and functionality.
3D modeling and renderings help visualize and evaluate the options. The client chooses their favorite schematic design to move forward.
Create Drawings and Models
The lead concept gets developed into schematic models and drawings for the client to review, including:
– Site plan – Building footprint
– Floor plans – General room layouts
– Elevations – Exterior views
– Building sections – Horizontal slices
– Simple 3D renderings
While still vague, these communicate the building scale and configuration.
Estimate Construction Costs
The construction manager does a preliminary estimate to confirm the schematic design fits within the project budget goals. If not, back to the drawing board!
Review Building Codes and Zoning
The team also starts checking that the concept adheres to local building codes and zoning laws. Some tweaks are expected to make the design compliant.
With schematic design done, the building concept should align with the program and be ready for further development. The client gives the green light to proceed.
Design Development Phase – Dialing in the Details
The schematic drawings get developed into more complete design development drawings adding specificity.
Refine the Design
The architect advances the floor plans for each level including:
– Exact room sizes and layouts
– Window and door locations
– Staircases and circulation paths
– Exterior finishes and architectural details
Drawings for building systems like structural, mechanical, and electrical are started.
Engineer Building Systems
The engineers dive into designing essential systems like:
Structural: Foundations, steel/concrete framing, load-bearing elements.
MEP: HVAC, plumbing, electrical, fire protection, IT/AV systems.
Civil: Site drainage, water supply, wastewater management.
They run calculations to size structural members, pipes, ducts, etc. to meet capacity.
Update Cost Estimates
With more design details, they refine the construction cost estimate and do value engineering if over budget.
Secure Approvals
The design gets submitted to the client and local jurisdictions for necessary sign-offs before documentation.
The design development phase really brings together form and function in preparation for final construction drawings and specifications.
Construction Documents – Finalizing Drawings
Now it’s time to produce detailed, coordinated drawings and specs enabling accurate pricing and construction.
Prepare Drawings
The architects and engineers create drawing sets covering all design disciplines – architectural, structural, MEP, civil, etc. These plans describe exactly how the building will be constructed down to every last fitting and connection. Nothing is left ambiguous or unresolved.
Write Specifications
Specifications are prepared to supplement the drawings with additional technical requirements for materials, finishes, performance criteria, and workmanship. Think 50-page Word documents!
Update Cost Estimates
With 100% complete documents, they re-run super detailed cost estimates and do another value engineering pass if needed.
Submit for Permits
Finally, the drawing sets get submitted to the building department for plan review and permit approvals before bidding.
The construction documents represent the culmination of the design process and product. Great care goes into their accuracy and completeness.
Bidding Phase – Hiring a Contractor
With the construction documents finished, here comes the bidding process to hire a qualified general contractor.
Distribute Bid Documents
The drawings, specifications, bidding instructions and contract forms get issued to prequalified contractors to solicit bids. For public projects, a legal notice goes out in addition to direct invitations.
Hold Pre-Bid Meetings
Interested contractors visit the site and ask clarifying questions at a pre-bid meeting before submitting bids. This minimizes unknowns.
Receive and Evaluate Bids
Contractors submit priced bids by a deadline based on their cost to construct the project per the documents. The team reviews the bids and qualifications.
Award the Construction Contract
The client awards the contract to the best value bidder. This authorizes the general contractor to start construction for the accepted lump sum price.
Careful bid review aims to achieve a fair price and hire a competent contractor
Construction Phase – Bringing the Building to Life
Finally, it’s time for the rubber to meet the road! The construction phase is when the contractor builds the physical structure.
Pre-Construction Meeting
Before starting work, the contractor, architects and owner hold a kickoff meeting on site to review the plans, schedule, processes and safety.
Break Ground!
The contractor mobilizes crews and equipment to the site to start construction activities – site clearing, excavation, foundation work. The fun part!
Oversee Construction
The architect and owner regularly visit the site to monitor work progress and quality per the contract documents. All work must pass inspections.
Manage Changes
Change orders are used to modify the plans and compensate for approved changes impacting the scope, schedule or cost.
Substantial Completion
As construction nears completion, the team does a rigorous walkthrough to identify any punchlist corrections needed. The building department grants a Certificate of Occupancy once code compliance is verified.
Post Construction – Wrapping Up
After construction ends, there are still closing administrative items and project reflections.
Closeout Procedures
The contractor submits lien releases, warranties, O&M manuals, and as-built drawings. The owner formally accepts the finished building.
Record Drawings
The contractor provides updated drawings documenting all changes made during construction for the owner’s records.
Lessons Learned
The team meets to discuss successes to repeat and areas for improvement on future projects.
Conclusion
As shown in this play-by-play overview, designing and constructing buildings is incredibly complex, requiring meticulous coordination between dozens of players over many years. While every project has unique twists, understanding the standard workflow phases and milestones helps demystify the process.
Clients and project teams can use this roadmap of the core design and construction steps to better manage building projects and deliver successful additions to our built environment. The professionals make it look easy…but we know better!
Author Bio

Wimgo
Other post in Categeory
© 2022 Wimgo, Inc. | All rights reserved.